Search Knowledge Base by Keyword
-
Introduction
-
Fundamentals
-
Favorites
-
Dashboards
-
Attachments
-
Reports
-
- Available Reports
- All Asset Types
- Application Certification Status
- Application Discovery
- Application Group Analysis
- App Group to SCCM Collection Analysis
- Application Install Count
- Application License Management
- Application Usage
- Asset Count by Property
- Asset Links Count by Asset Type
- Build Sheet
- Computer User Assignment
- Migration Readiness (Basic)
- Migration Readiness (Complex)
- O365 License Management
- O365 Migration Readiness
- SCCM OSD Status
- Scheduled Computers by Wave
- Scheduled Users by Manager
- User Migration Readiness
- VIP Users
- Wave & Task Details
- Wave Group
- Windows 10 Applications
- Patch Summary
- Delegate Relationships
- Show all articles ( 12 ) Collapse Articles
-
Self Service
-
Workflow
-
Assets
-
- View Asset
- Asset Properties
- Images
- Notes
- Waves
- Tasks
- Attachments
- History
- Rationalization
- QR Code
- Linked Assets
- SCCM Add/Remove Programs
- Altiris Add/Remove Programs
- Related Assets
- Relationship Chart
- Permissions
- Show all articles ( 1 ) Collapse Articles
-
Event Logs
-
Users & Groups
-
Asset Types
-
Charts & Dashboards
-
Options
-
Module Settings
-
API & Stored Procedures
-
Administration
Charts
< Back
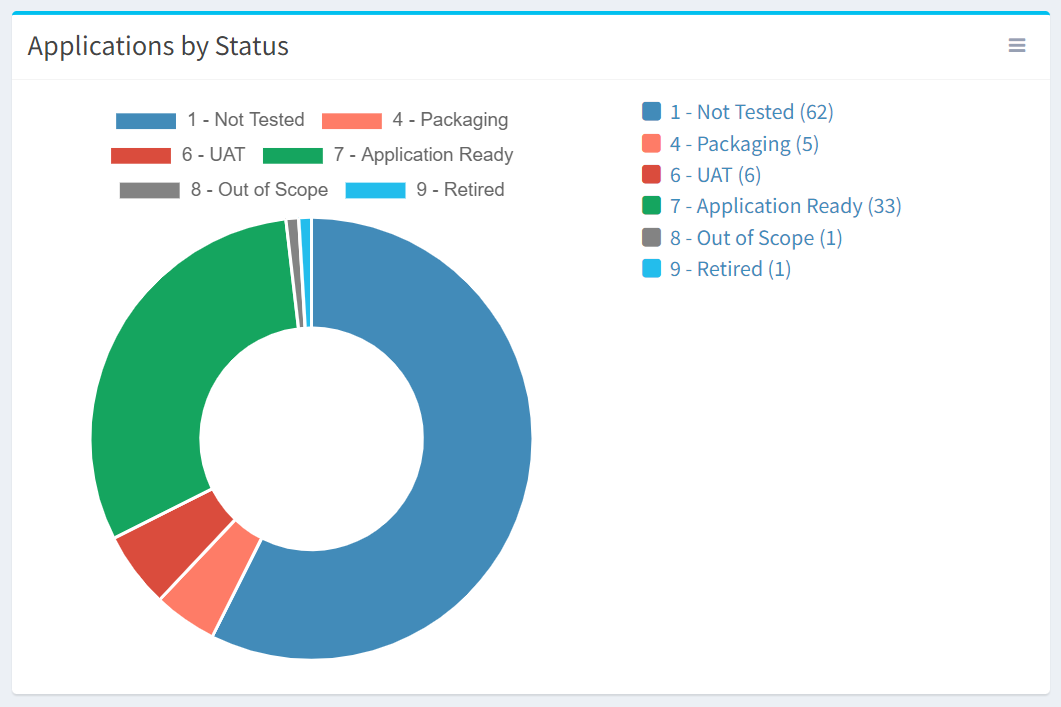
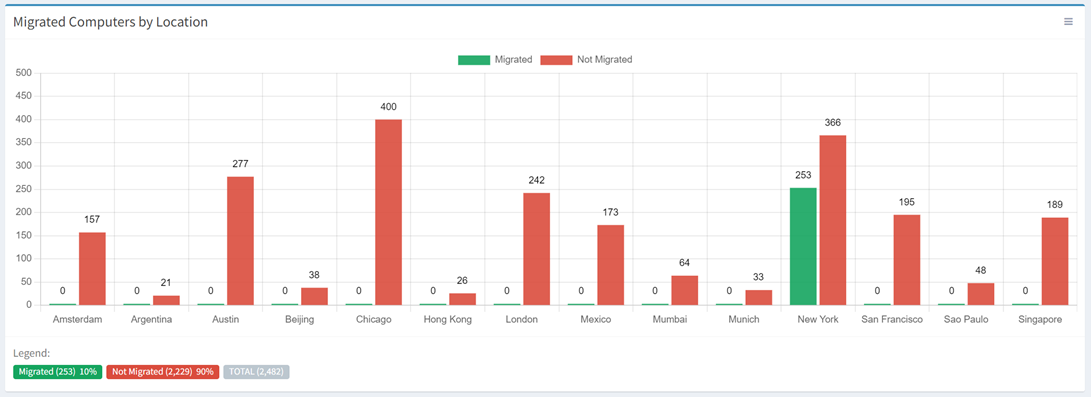
ReadyWorks dashboard Charts provide a view into your project data. You can drilldown into a chart by clicking on the legend of the chart. You will be redirected to a filtered view of the data table of the asset.
Available operations:
- Change the settings of your charts
- Sort the labels on your pie and bar charts
- Remove charts from your dashboard
- Hide data columns from your charts (temporarily)
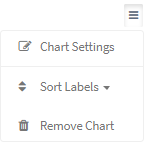
Chart Settings
From the Project or a Predefined dashboard page, you can edit chart settings. To edit:
- Click the
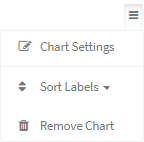
 icon on a chart to access the drop down
NOTE: The icon will not be available if Allow Editing has not been enabled for the dashboard.
 - Select Chart Settings from the drop down to bring up the Chart Settings dialog
- Edit the settings of the chart

- Heading Color – Color of the heading bar on the chart (only default colors are available from the drop down)
- Chart Span – Spanning of the chart on the dashboard (Half Width, Full Width)
- Change Chart Position – Click the checkbox to enable the drop down to select the chart this chart will display before or after
- Show Zero Values – Choose whether to display items with zero values on the chart (e.g. No Computers in the Migrated status)
- Click the Update button to save your changes. Click the Close button to cancel the operation. Click the View Full Details button to view all properties for the chart. The View Full Details button is only visible to users in the Administrator security group. The view for users in the Regular User, Workflow User and Read Only security groups is shown below:

Sort Labels (Pie and Bar Charts Only)
From the Project or a Predefined dashboard page, you can sort the labels on pie and bar charts. To sort:
- Click the
 icon on a chart to access the drop down
NOTE: The icon will not be available if Allow Editing has not been enabled for the dashboard.
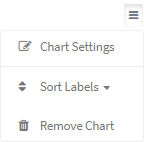
 - Select Sort Labels from the drop down
- Select the sort method from the Sort Labels drop down

- By Value Ascending – Sort lowest to highest (default)
- By Value Descending – Sort highest to lowest
- Alphabetically Ascending – Sort A to Z
- Alphabetically Descending – Sort Z to A
NOTE: When value is the data method used, value sorting applies to the data column and alphabetical sorting applies to the label.
Remove Chart
From the Project or a Predefined dashboard page, you can remove charts from your dashboard. To remove:
- Click the
 icon on a chart to access the drop down
NOTE: The icon will not be available if Allow Editing has not been enabled for the dashboard.
 - Select Remote Charts from the drop down
Hide Data Columns
From the Project or a Predefined dashboard page, you can temporarily hide data columns from your charts. To hide data columns:
- Strikethrough a data column to temporarily hide it
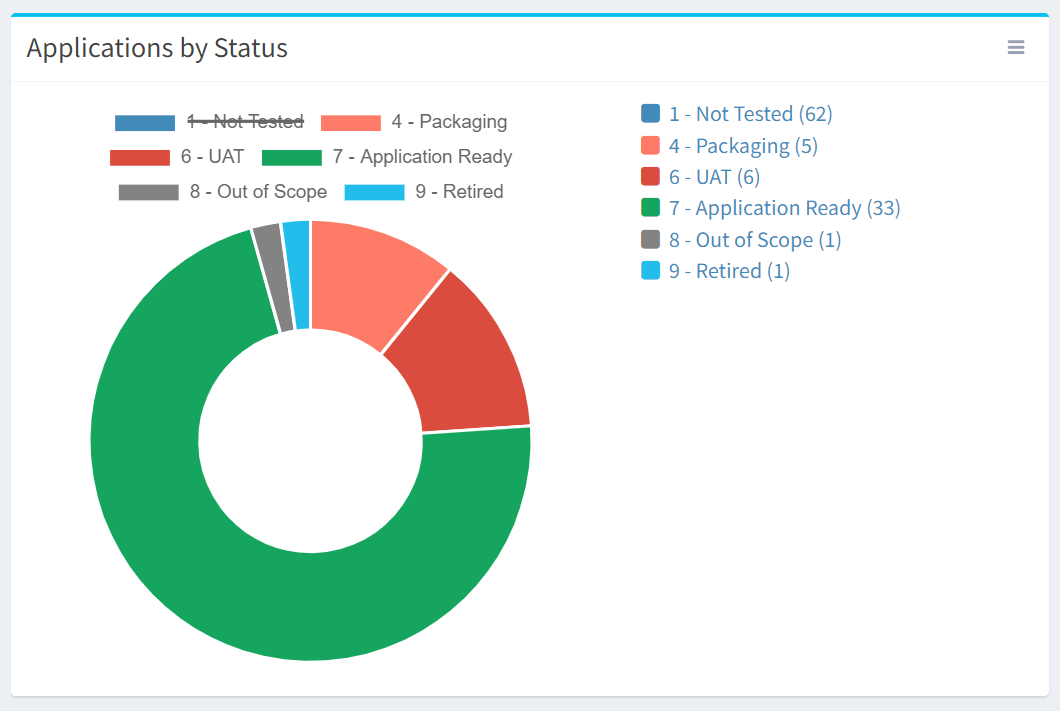
- Click the data column again to unhide it
